
How to Create EASY Holiday Light Bokeh Photos with an iPhone
Wondering what light bokeh even is? It's these beautiful round circles of light that are intentionally blurry and out of focus. It's a Japanese word and a photographic style.
Christmas trees are just begging for bokeh! But you don't need to celebrate Christmas to enjoy this creative trick. Twinkly lights are easy to find and this on-the-fly creative trick is so much fun to play with.
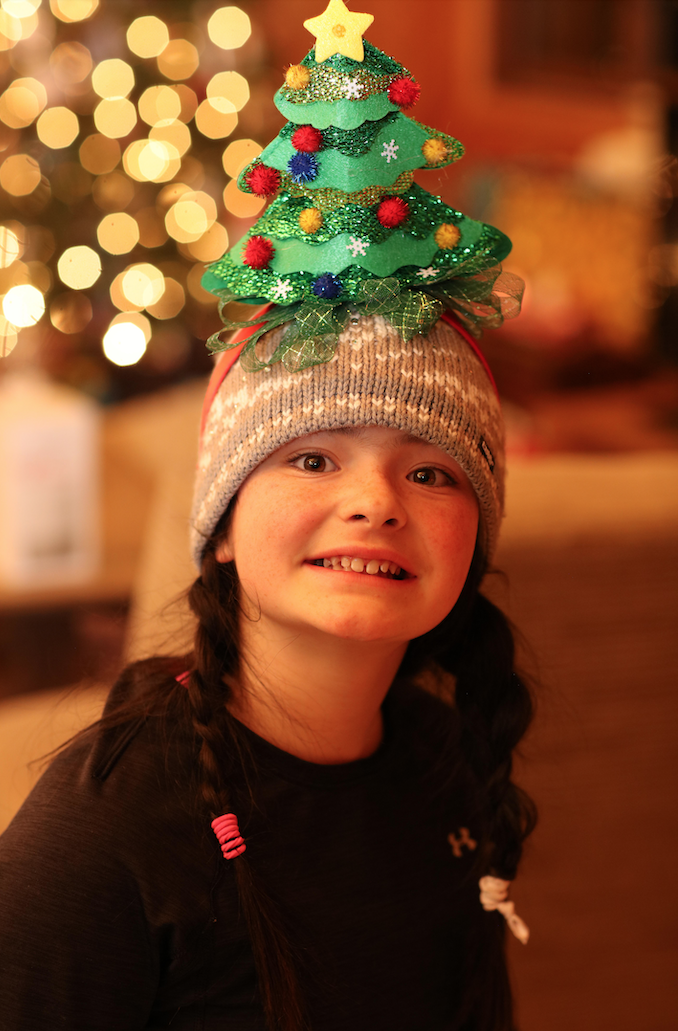
If you've heard of bokeh, maybe you've mostly thought of it as a way to blur the background when taking a portrait of someone. I took this photo with my big DSLR camera a few years ago of my daughter, Jacey. I didn't realize you could actually achieve a similar creative effect with an iPhone.
I accidentally discovered light bokeh on my iPhone last year when I was attempting to shoot this scene while parked at a BBQ joint chatting with an old friend before driving into cell phone dead zones during a snow storm.
My iPhone wouldn't focus on the tree as it kept trying to focus on the raindrops on the windshield (since they were closer to me), this resulted in the accidentally blurred out tree in the background. This "mistake" turned out to be one of my favorite photos of 2020.
My battery died exactly 1 second after taking this shot, so it was truly one and done, NO DO-OVERS. Serendipity for the creative win!
I had to figure out how to duplicate this and not just wait for it to "happen" to me.
Here's How to Do It
There are several different ways to do this with an iPhone, but in our December photo challenge, I am teaching my Life Feast community these two super SIMPLE methods.
One is completely free and the other requires the Camera Plus 2 app (the paid version, not the free version, $8ish dollars at the time of writing).
First, let me show you how to create light bokeh with your iPhone, no app required.
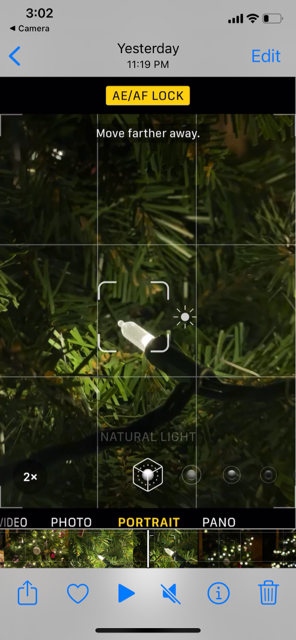
1) Get up close to your twinkly lights and lock your focus (touch your iPhone screen on the light you are focusing until the yellow bow with ae/af pops up).
2) After you've locked the focus on one light very close up, back up and take in the big picture and notice how the lights are now blurred - bokeh style.
This happens because the iPhone is set to focus on that close up light, but since it's locked in, it gets confused with the distance and change of focal point. Voila! The beautiful bokeh is achieved. 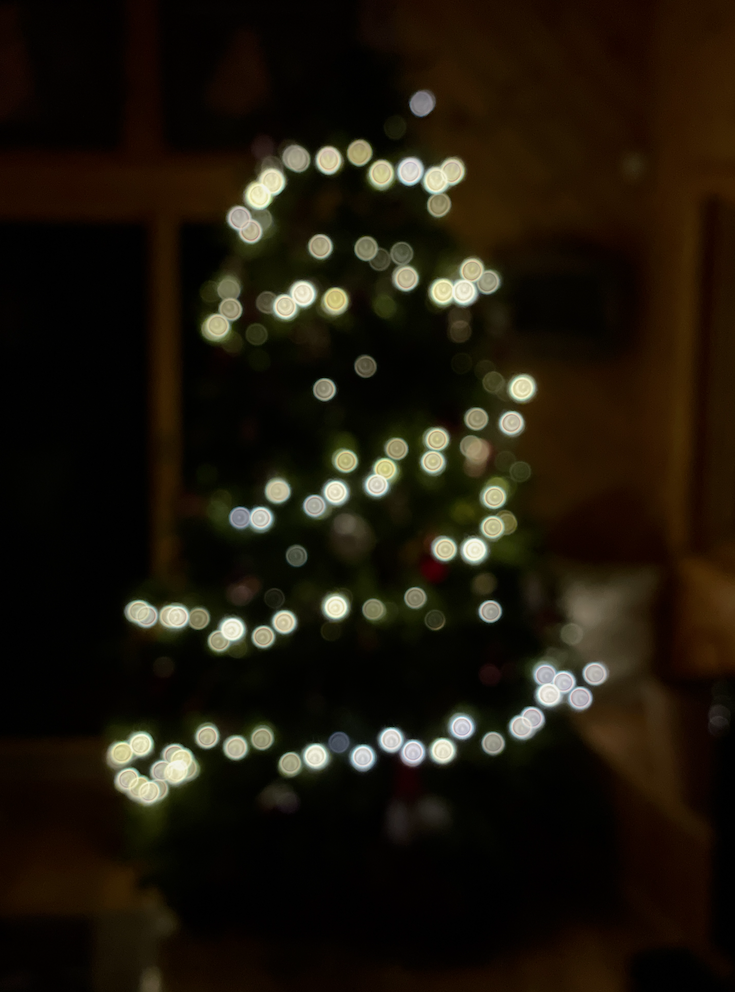
The alternative way (which is even easier and creates more dramatic bokeh) is to use the Camera Plus 2 app. This is the paid version of the app, not the free version. It's about $8 at the time of this writing.
1) Open the app and look for the AUTO button in yellow at the top. Select it.
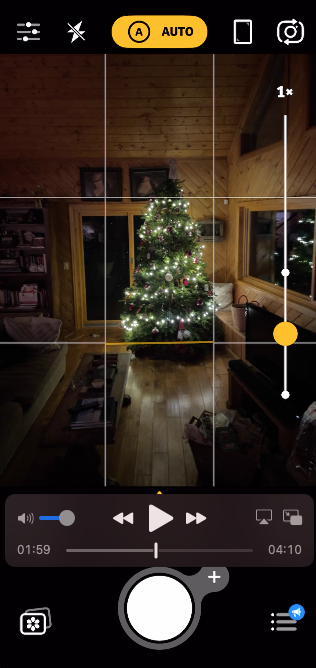
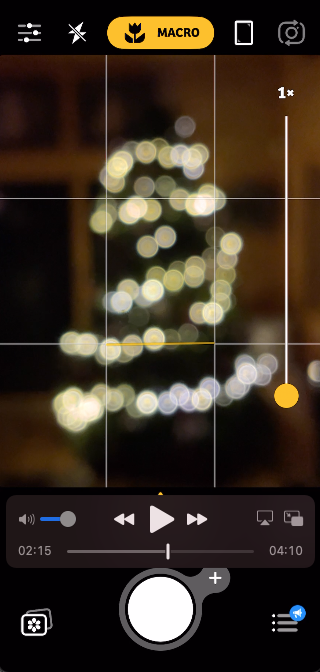
As soon as you hit the macro button, you'll see the beautiful bokeh right away.
You can snap the photo and then play with some of the Camera Plus 2 filters or editing tools (like the toy camera filter below) or edit in your favorite app.
As you can see in my video, I actually walked up the stairs to get some different angles of my Christmas tree. I'm all about changing up your perspective both in life and in your photography.
 I can't wait to see your light bokeh photos! It takes so little time to be creative with this technique, so even though you might have a million presents to wrap or parties to go to, creative self-care is a fast way to undo holiday overwhelm and you get to savor the photo over and over!
Try it out and tag or DM me the results on Instagram @lizzielarock
Interested in infusing your life with curiosity, mindfulness, awe, play, adventure through creativity and iPhone photography? Join me and our incredible community of women coloring outside the lines of midlife and motherhood in the Life Feast!