
How to do a color pop in Snapseed

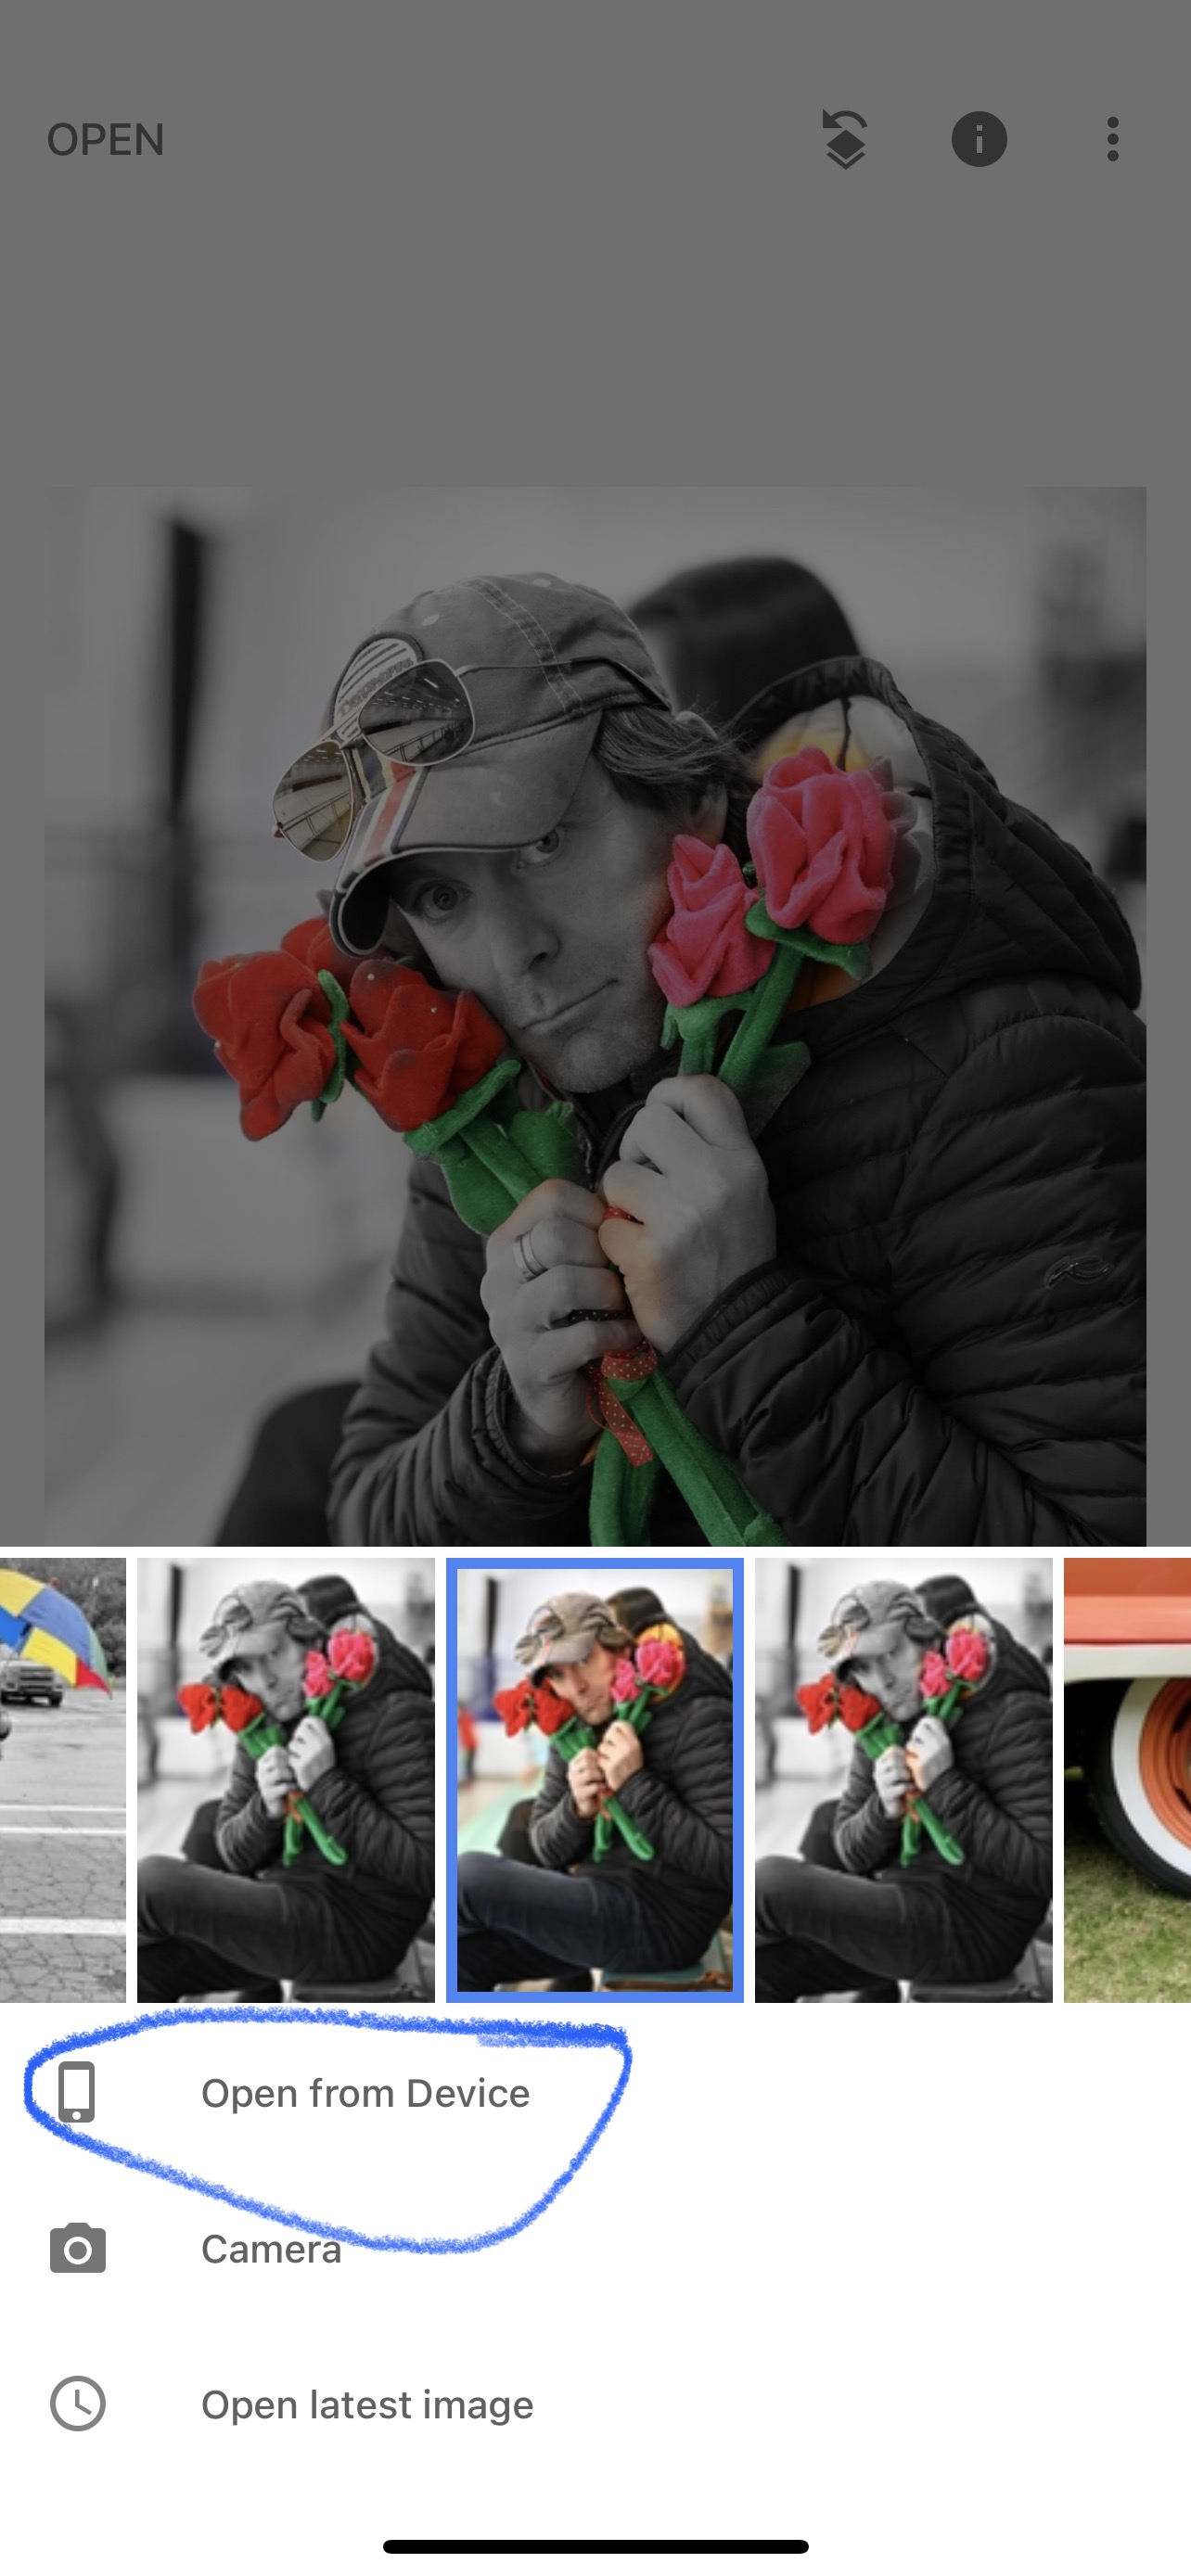
1) Open a full color photo in Snapseed
2) Select TOOLS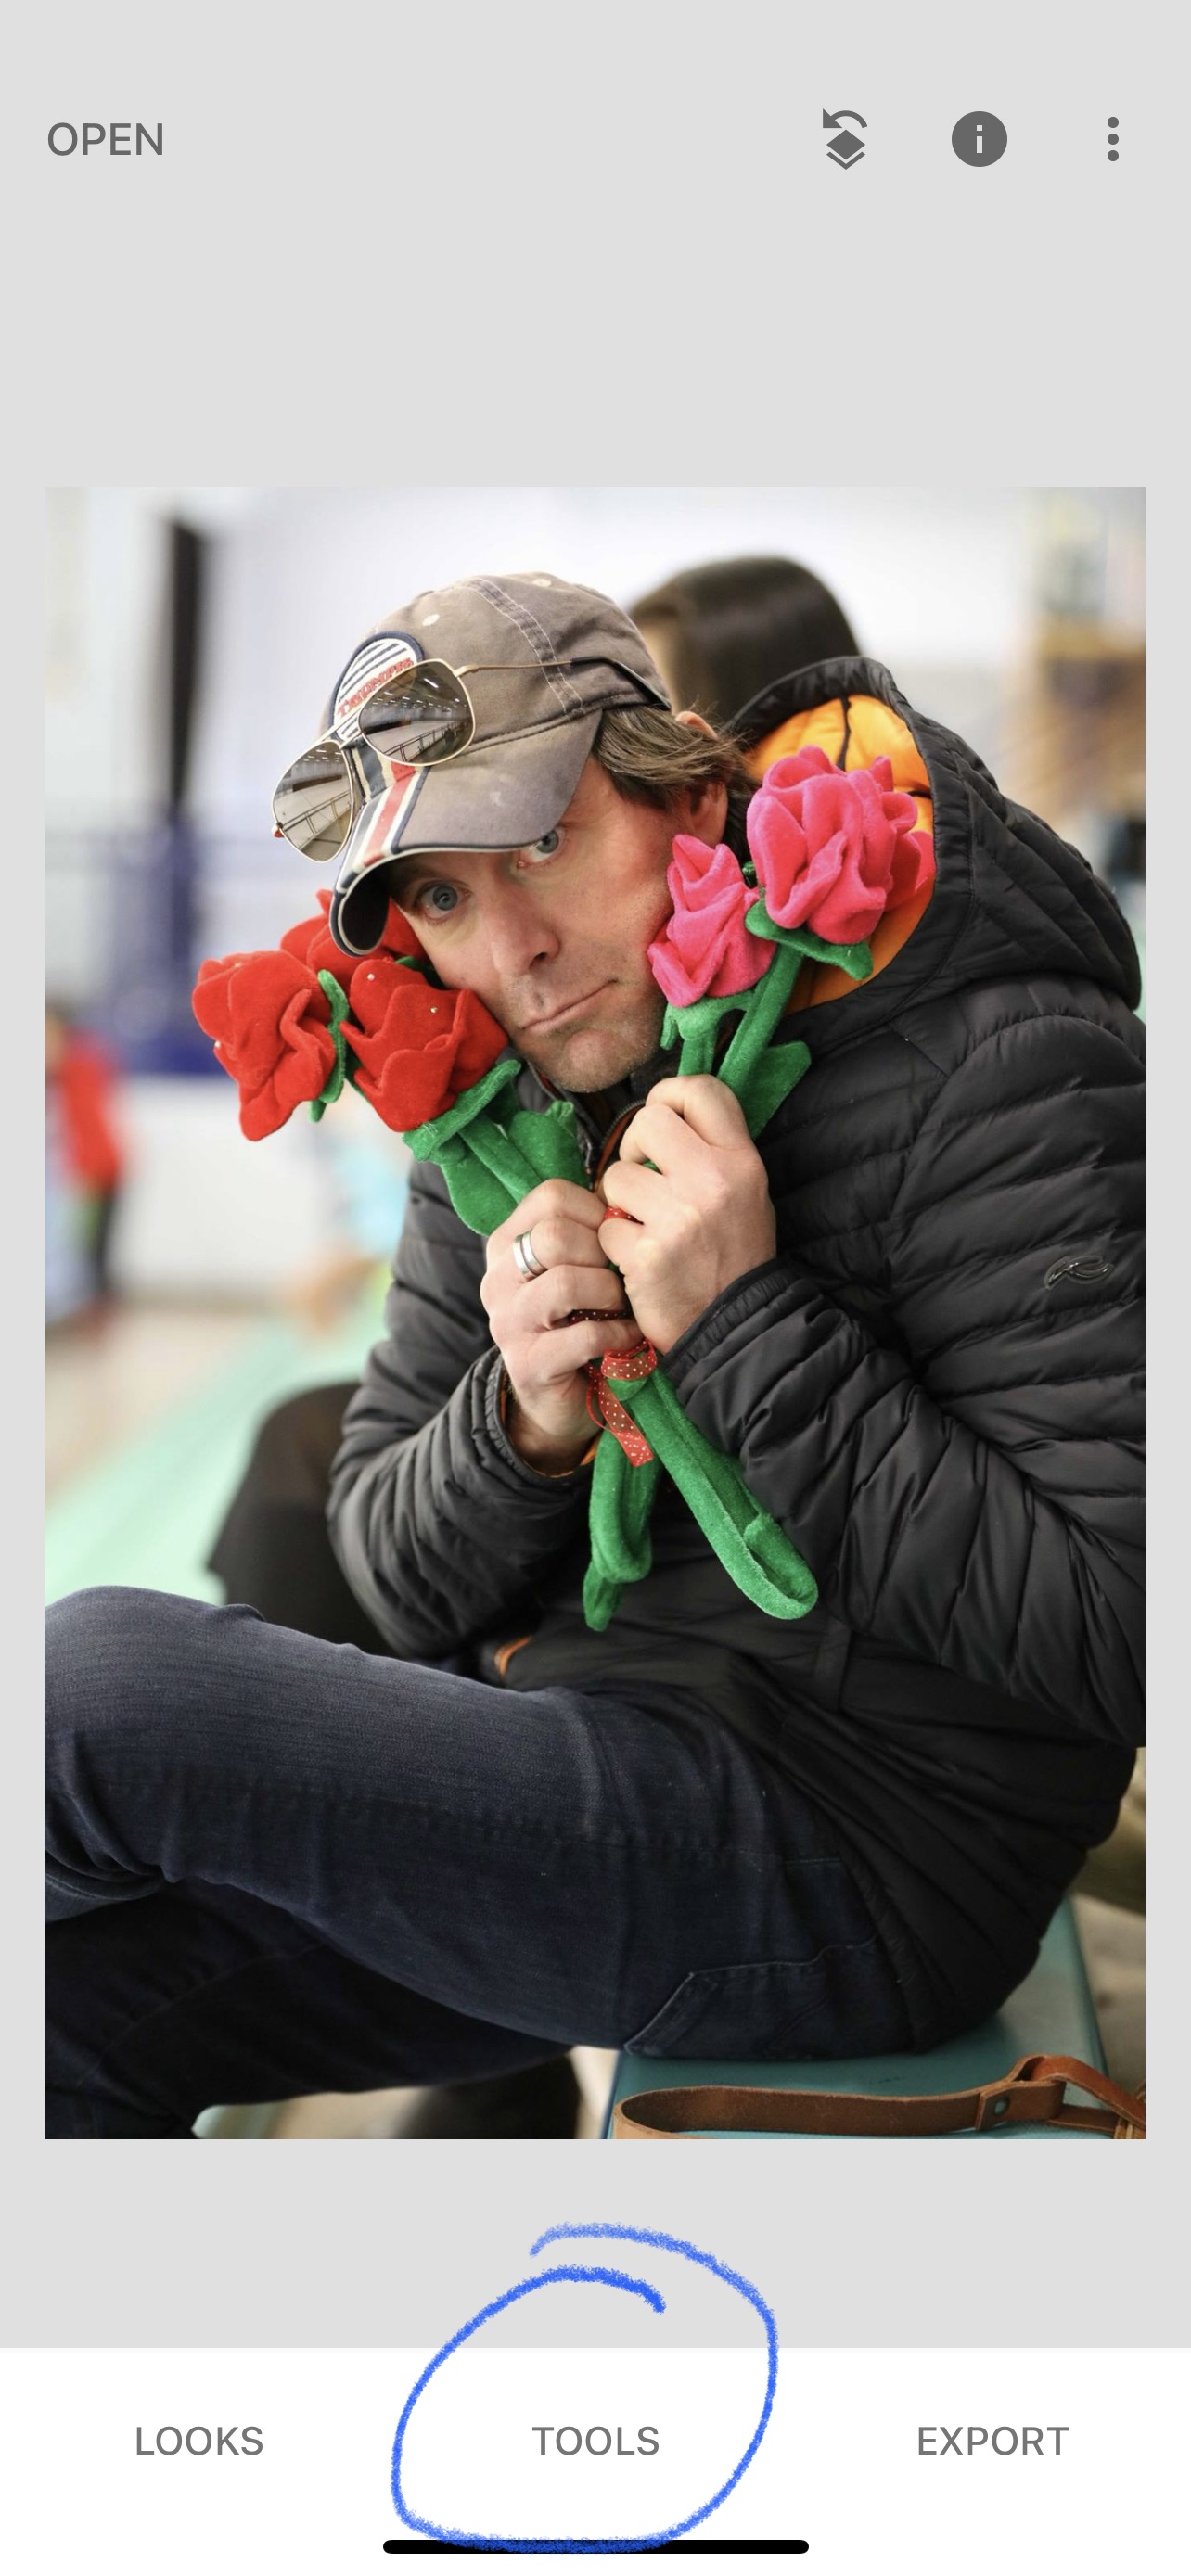
3) Go to TUNE IMAGE

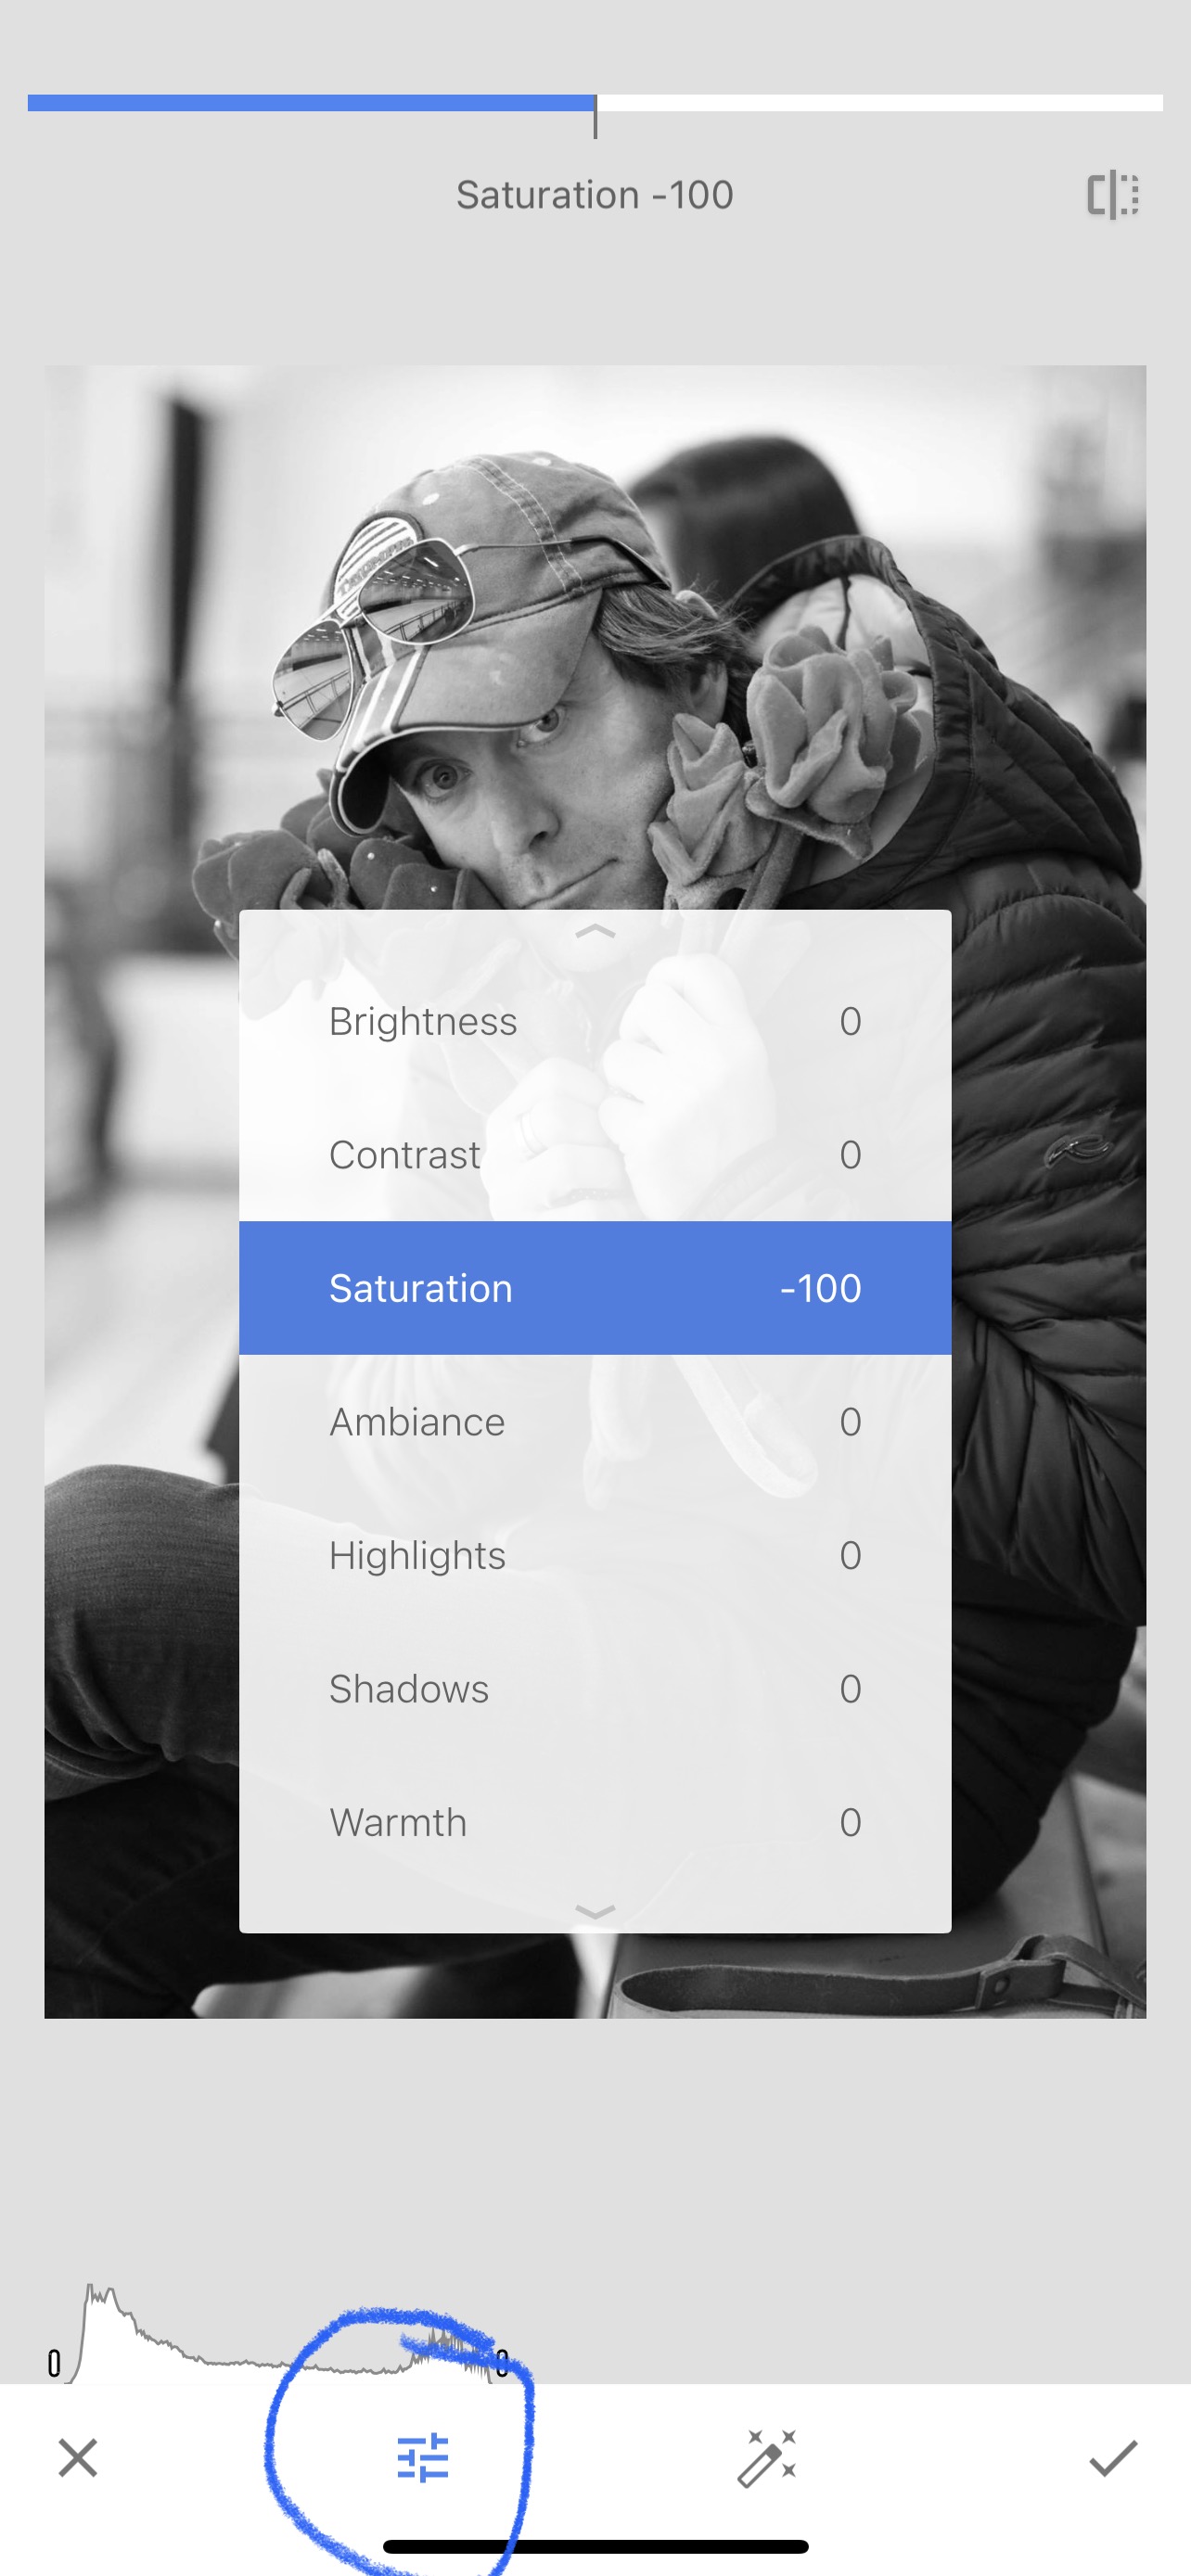
4) Select the slider at the bottom of the image to bring up the brightness/Saturation/Contrast menu. Select SATURATION, then either move the slider all the way to the left or you can long press on the photo and move your finger to the left.
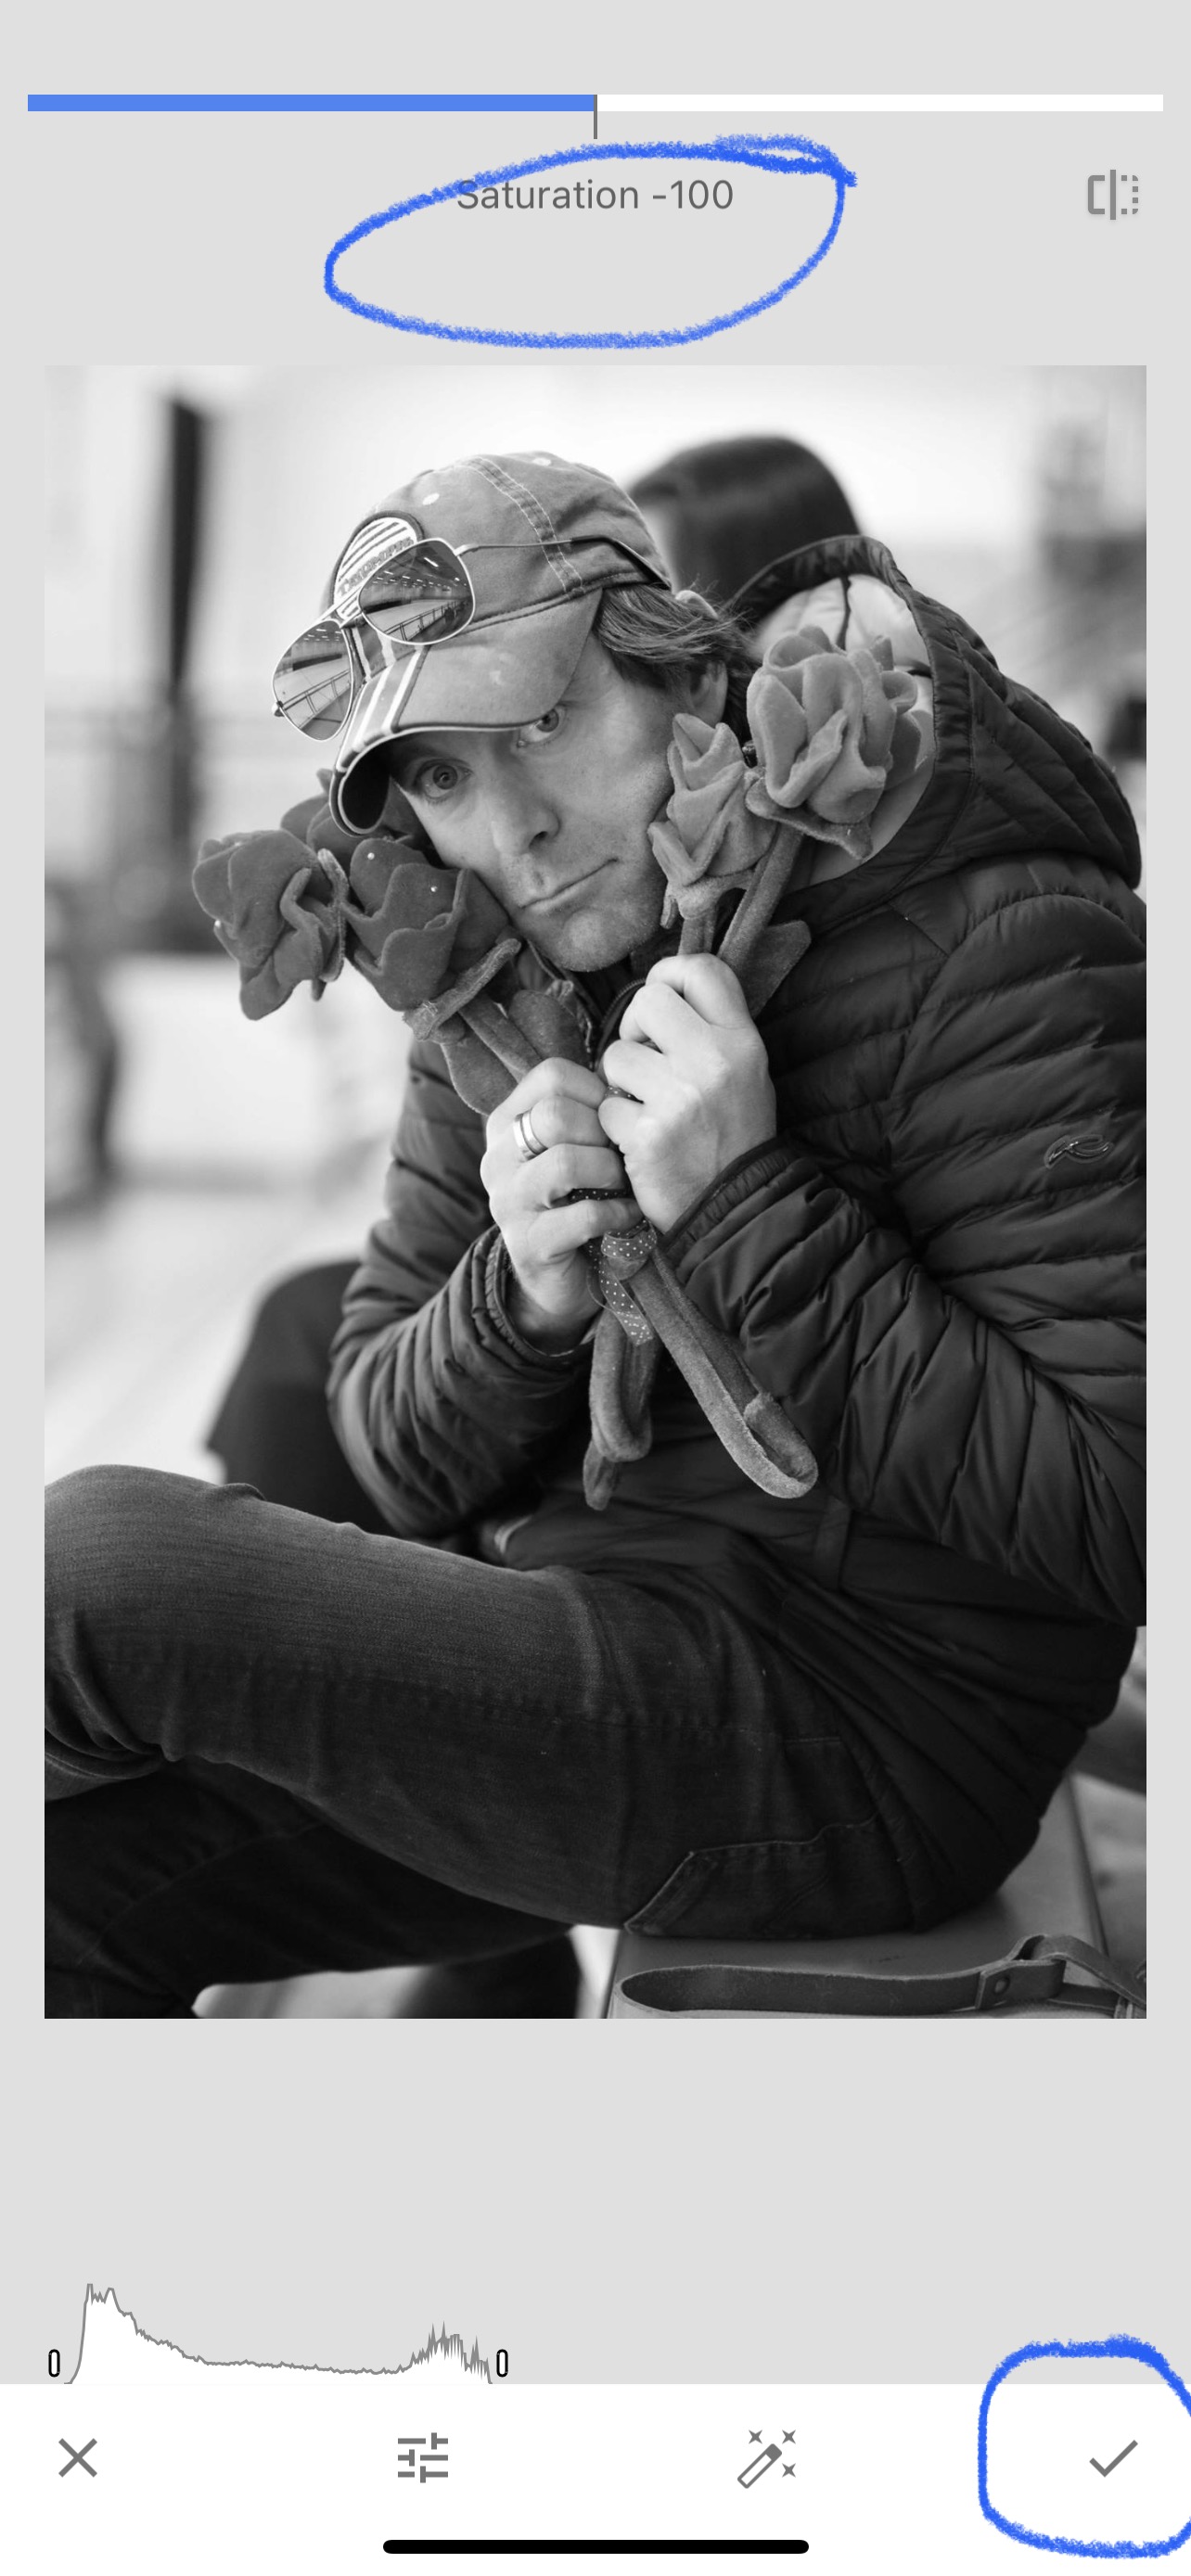
5) After you have made your photo black and white (by reducing SATURATION to -100) then select the check mark at the bottom right of the photo.
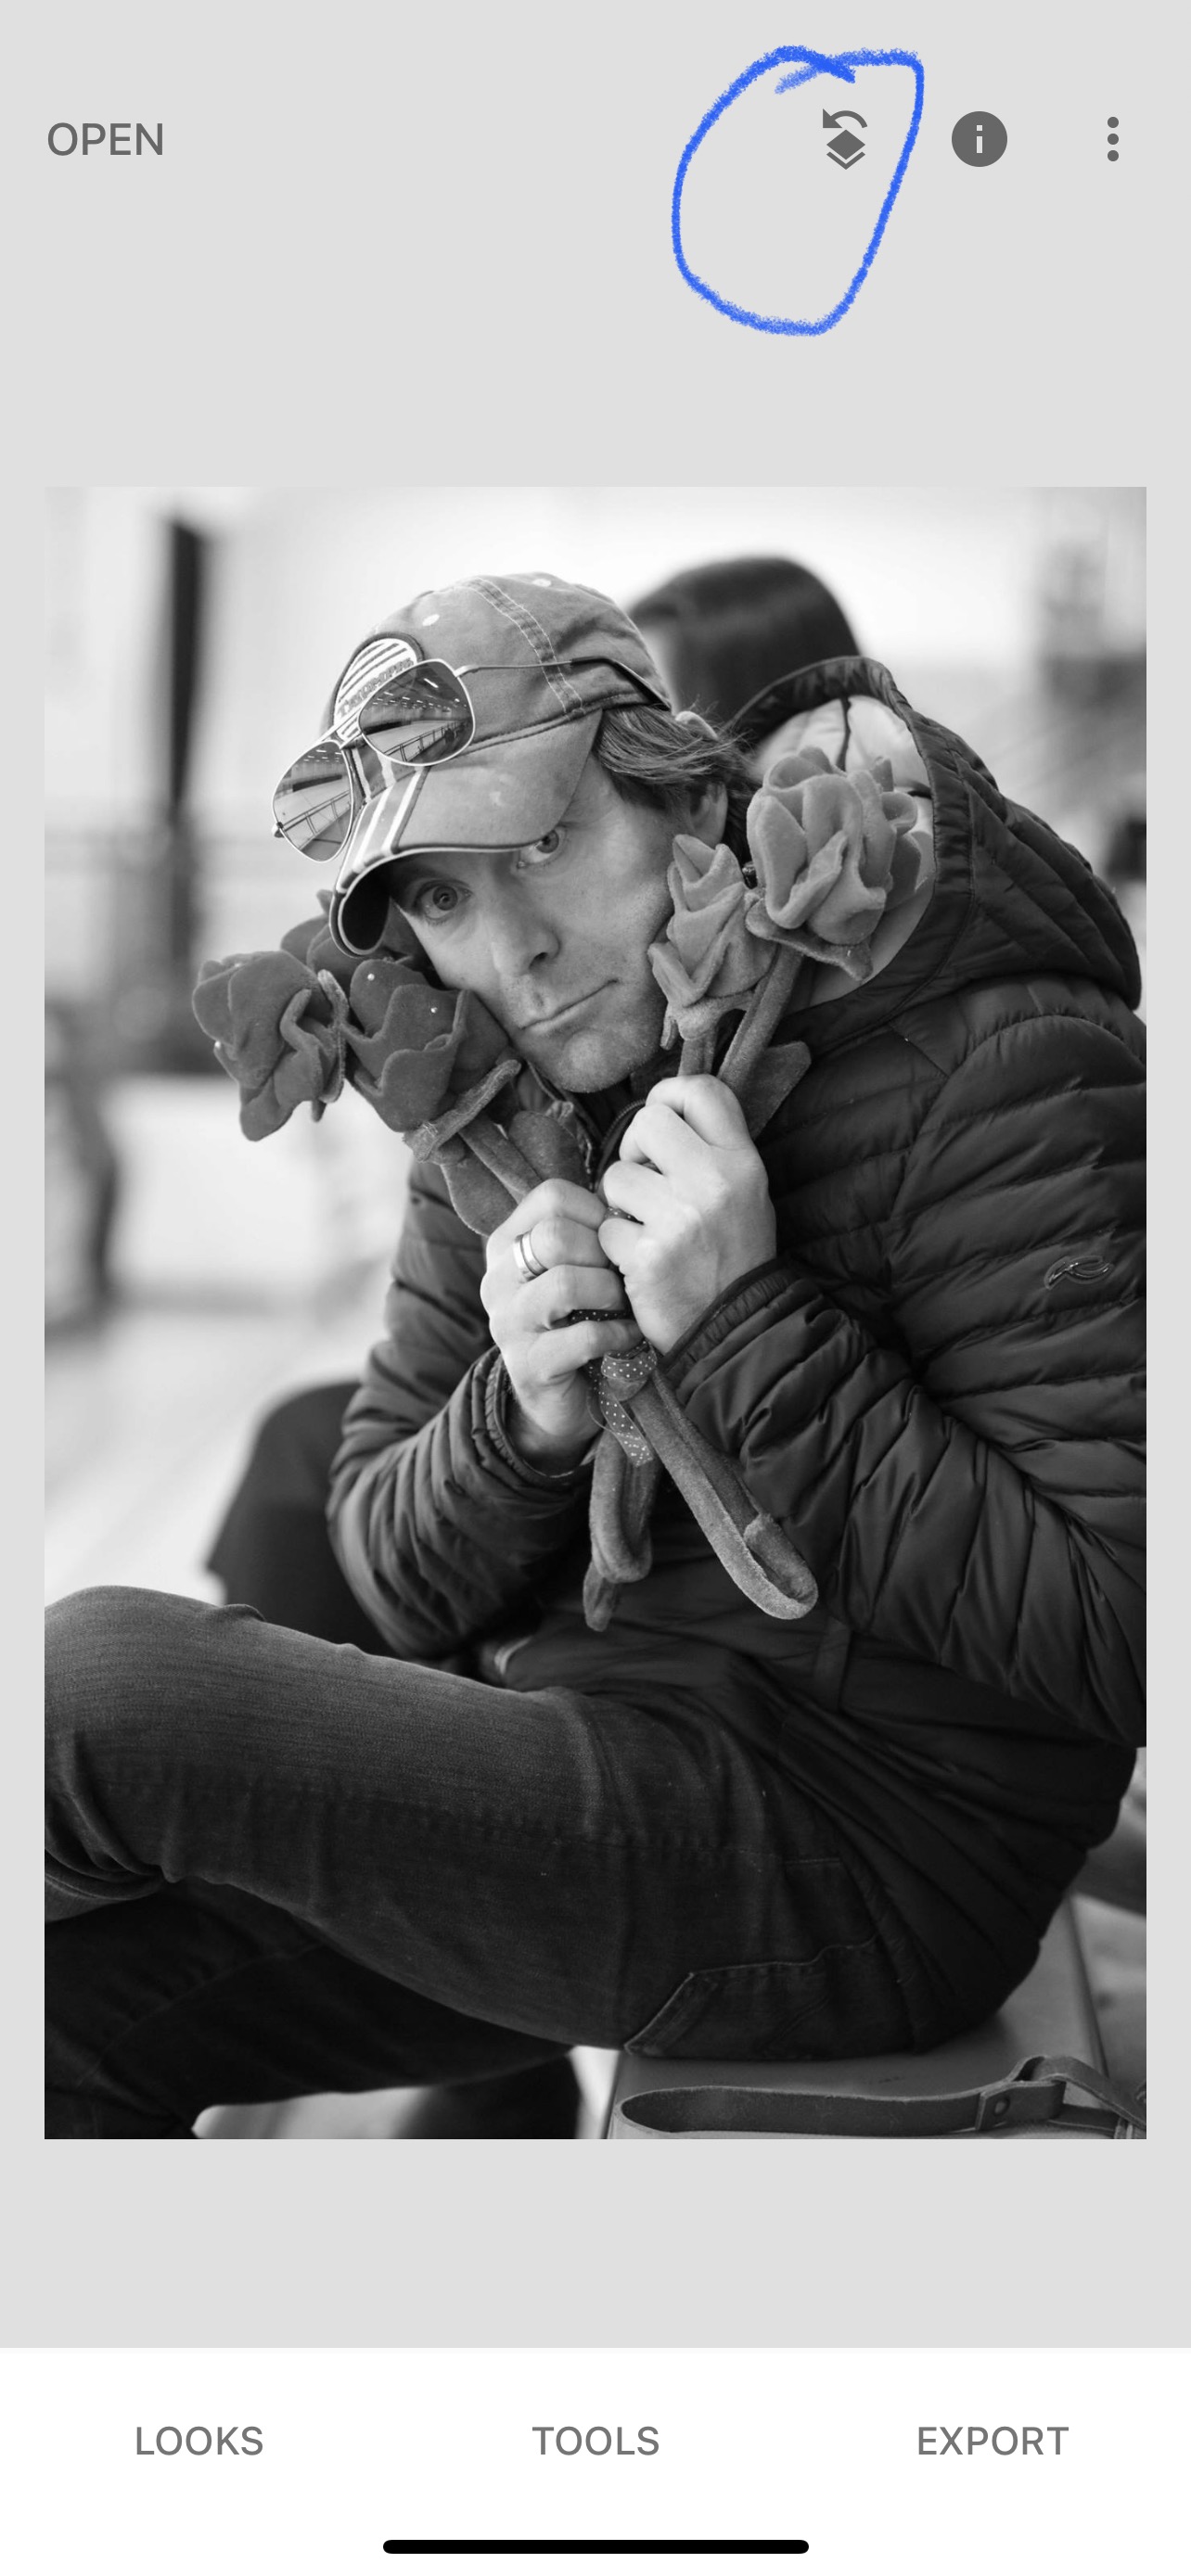
6) Now select this little icon that looks like a stack of books with an arrow on top.
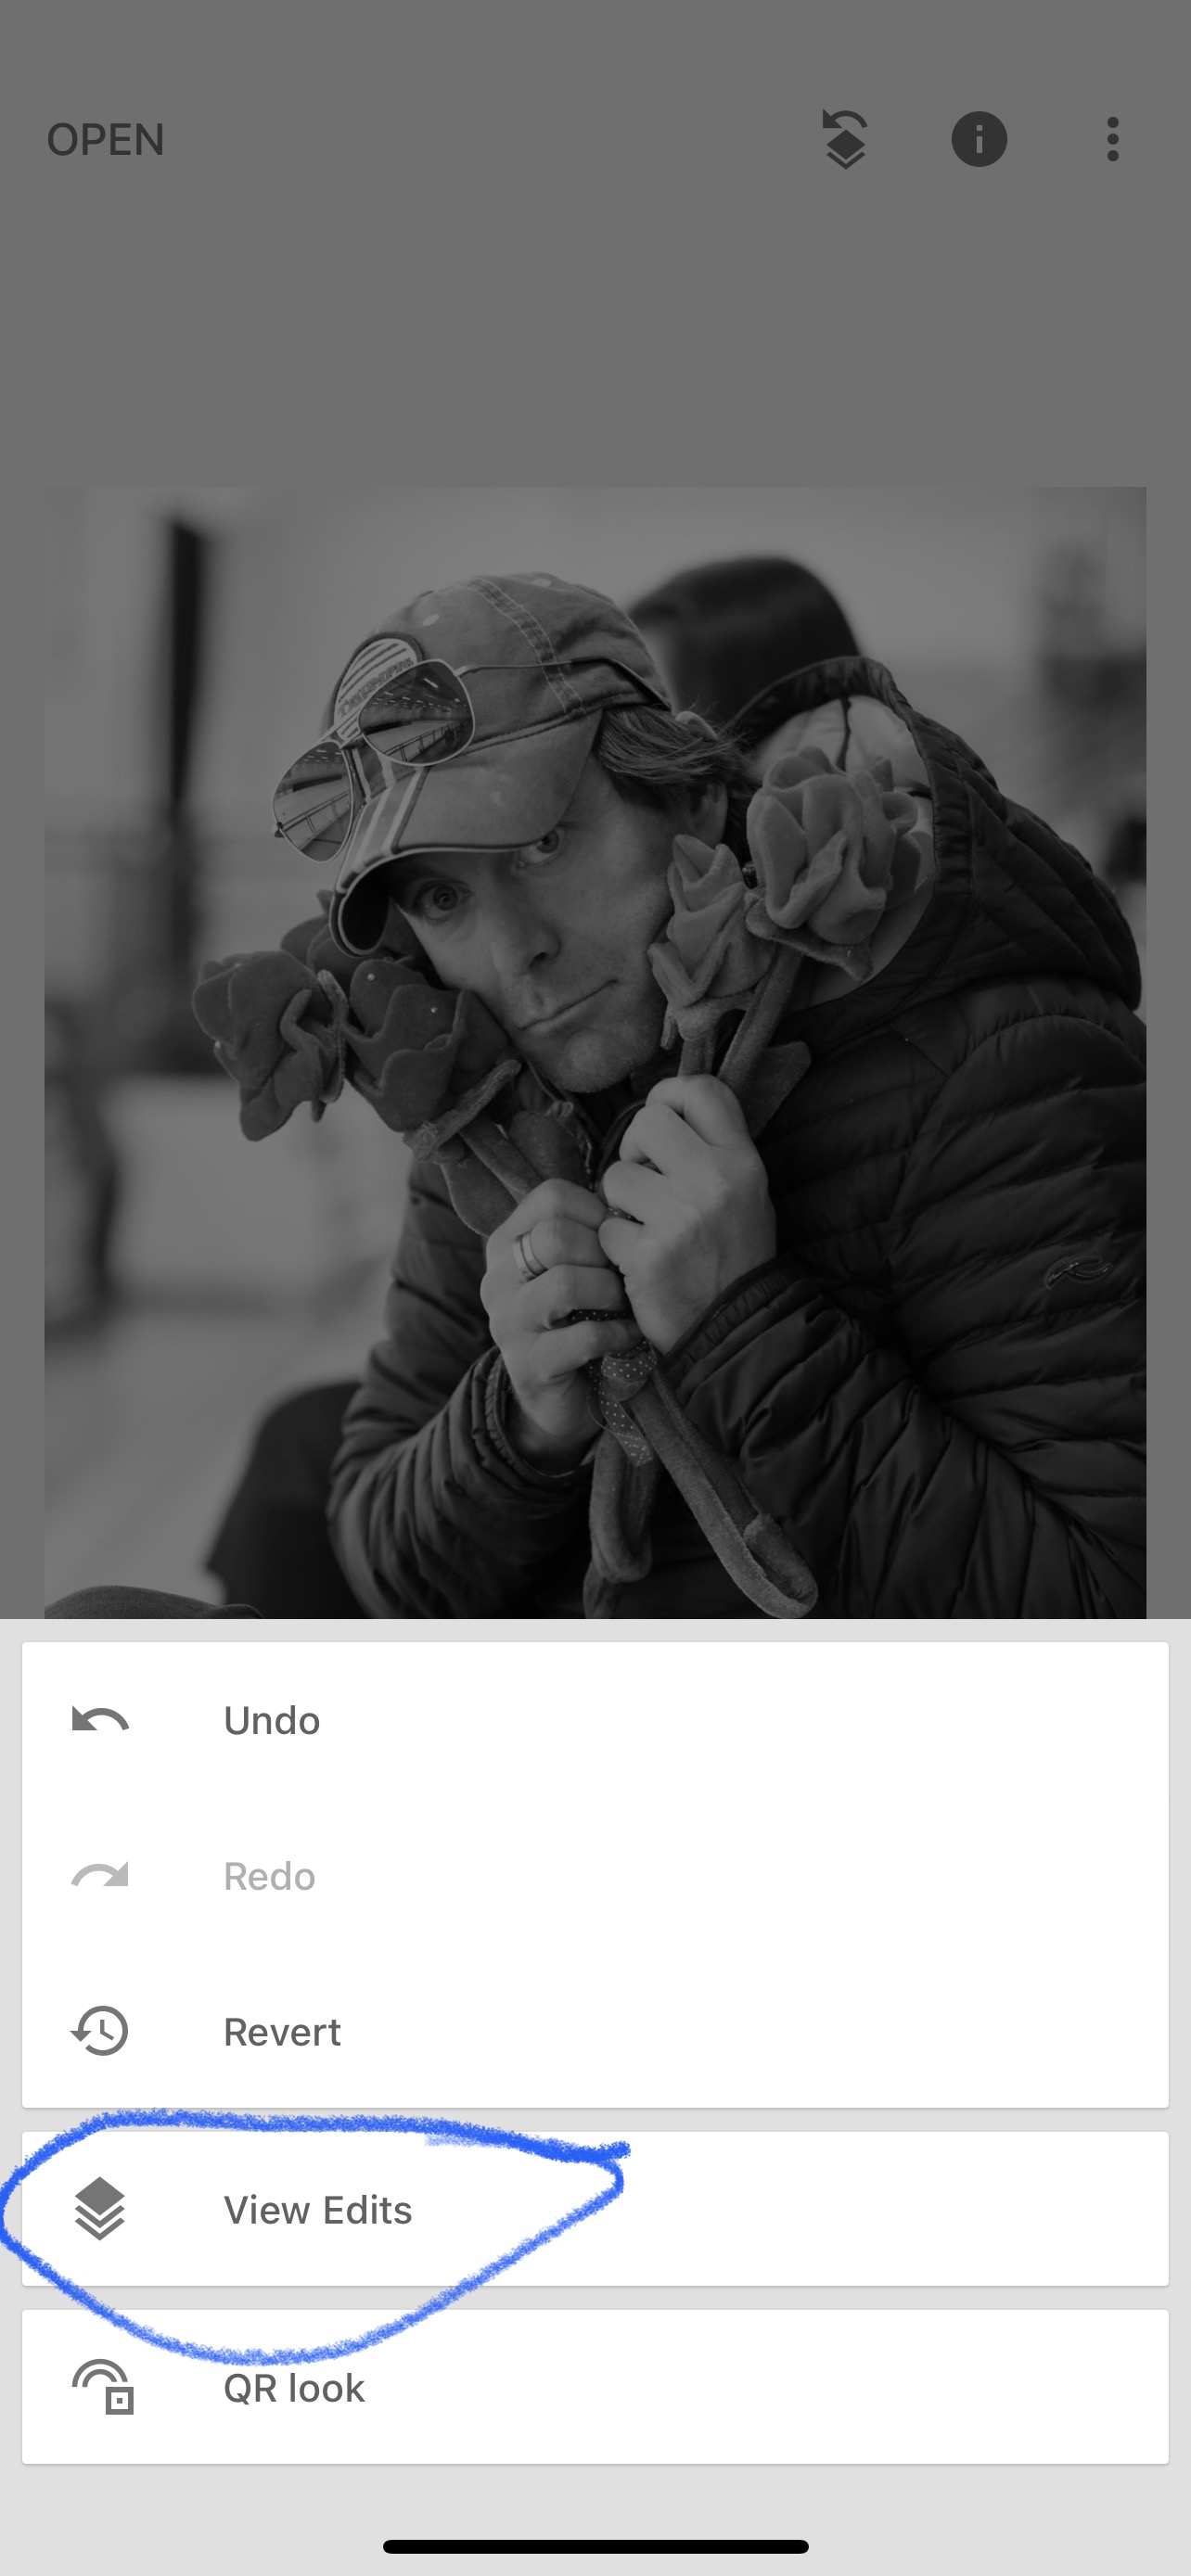
7) Select VIEW EDITS
8) Select TUNE IMAGE
9) Select the BRUSH tool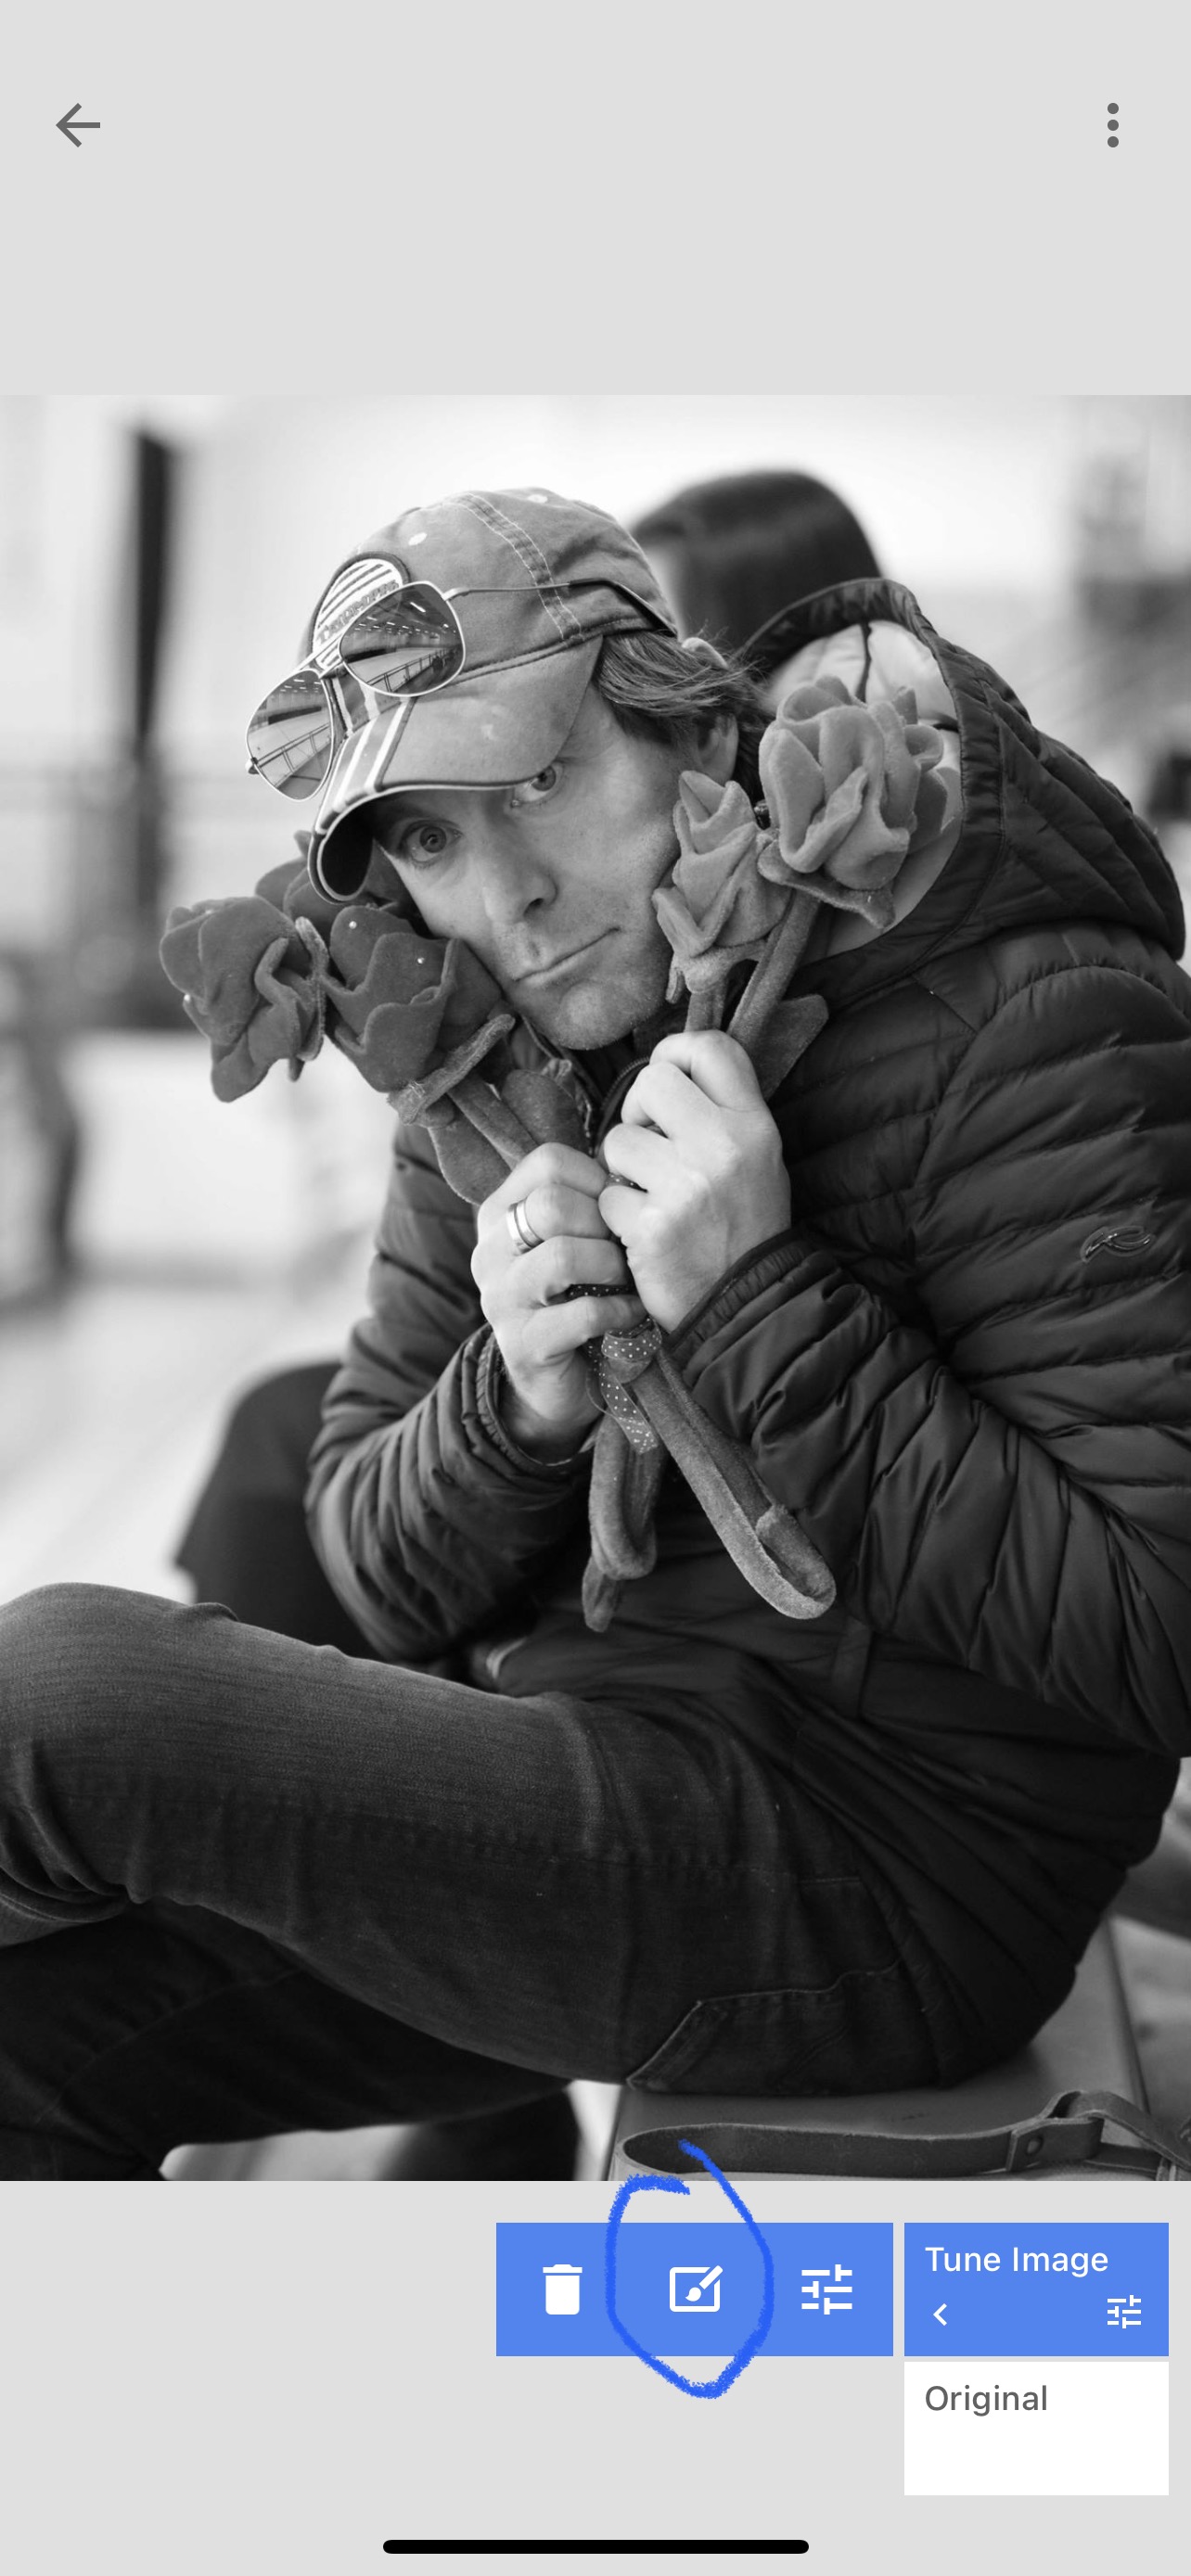
10) Select the INVERSION tool (looks like a black and white circle)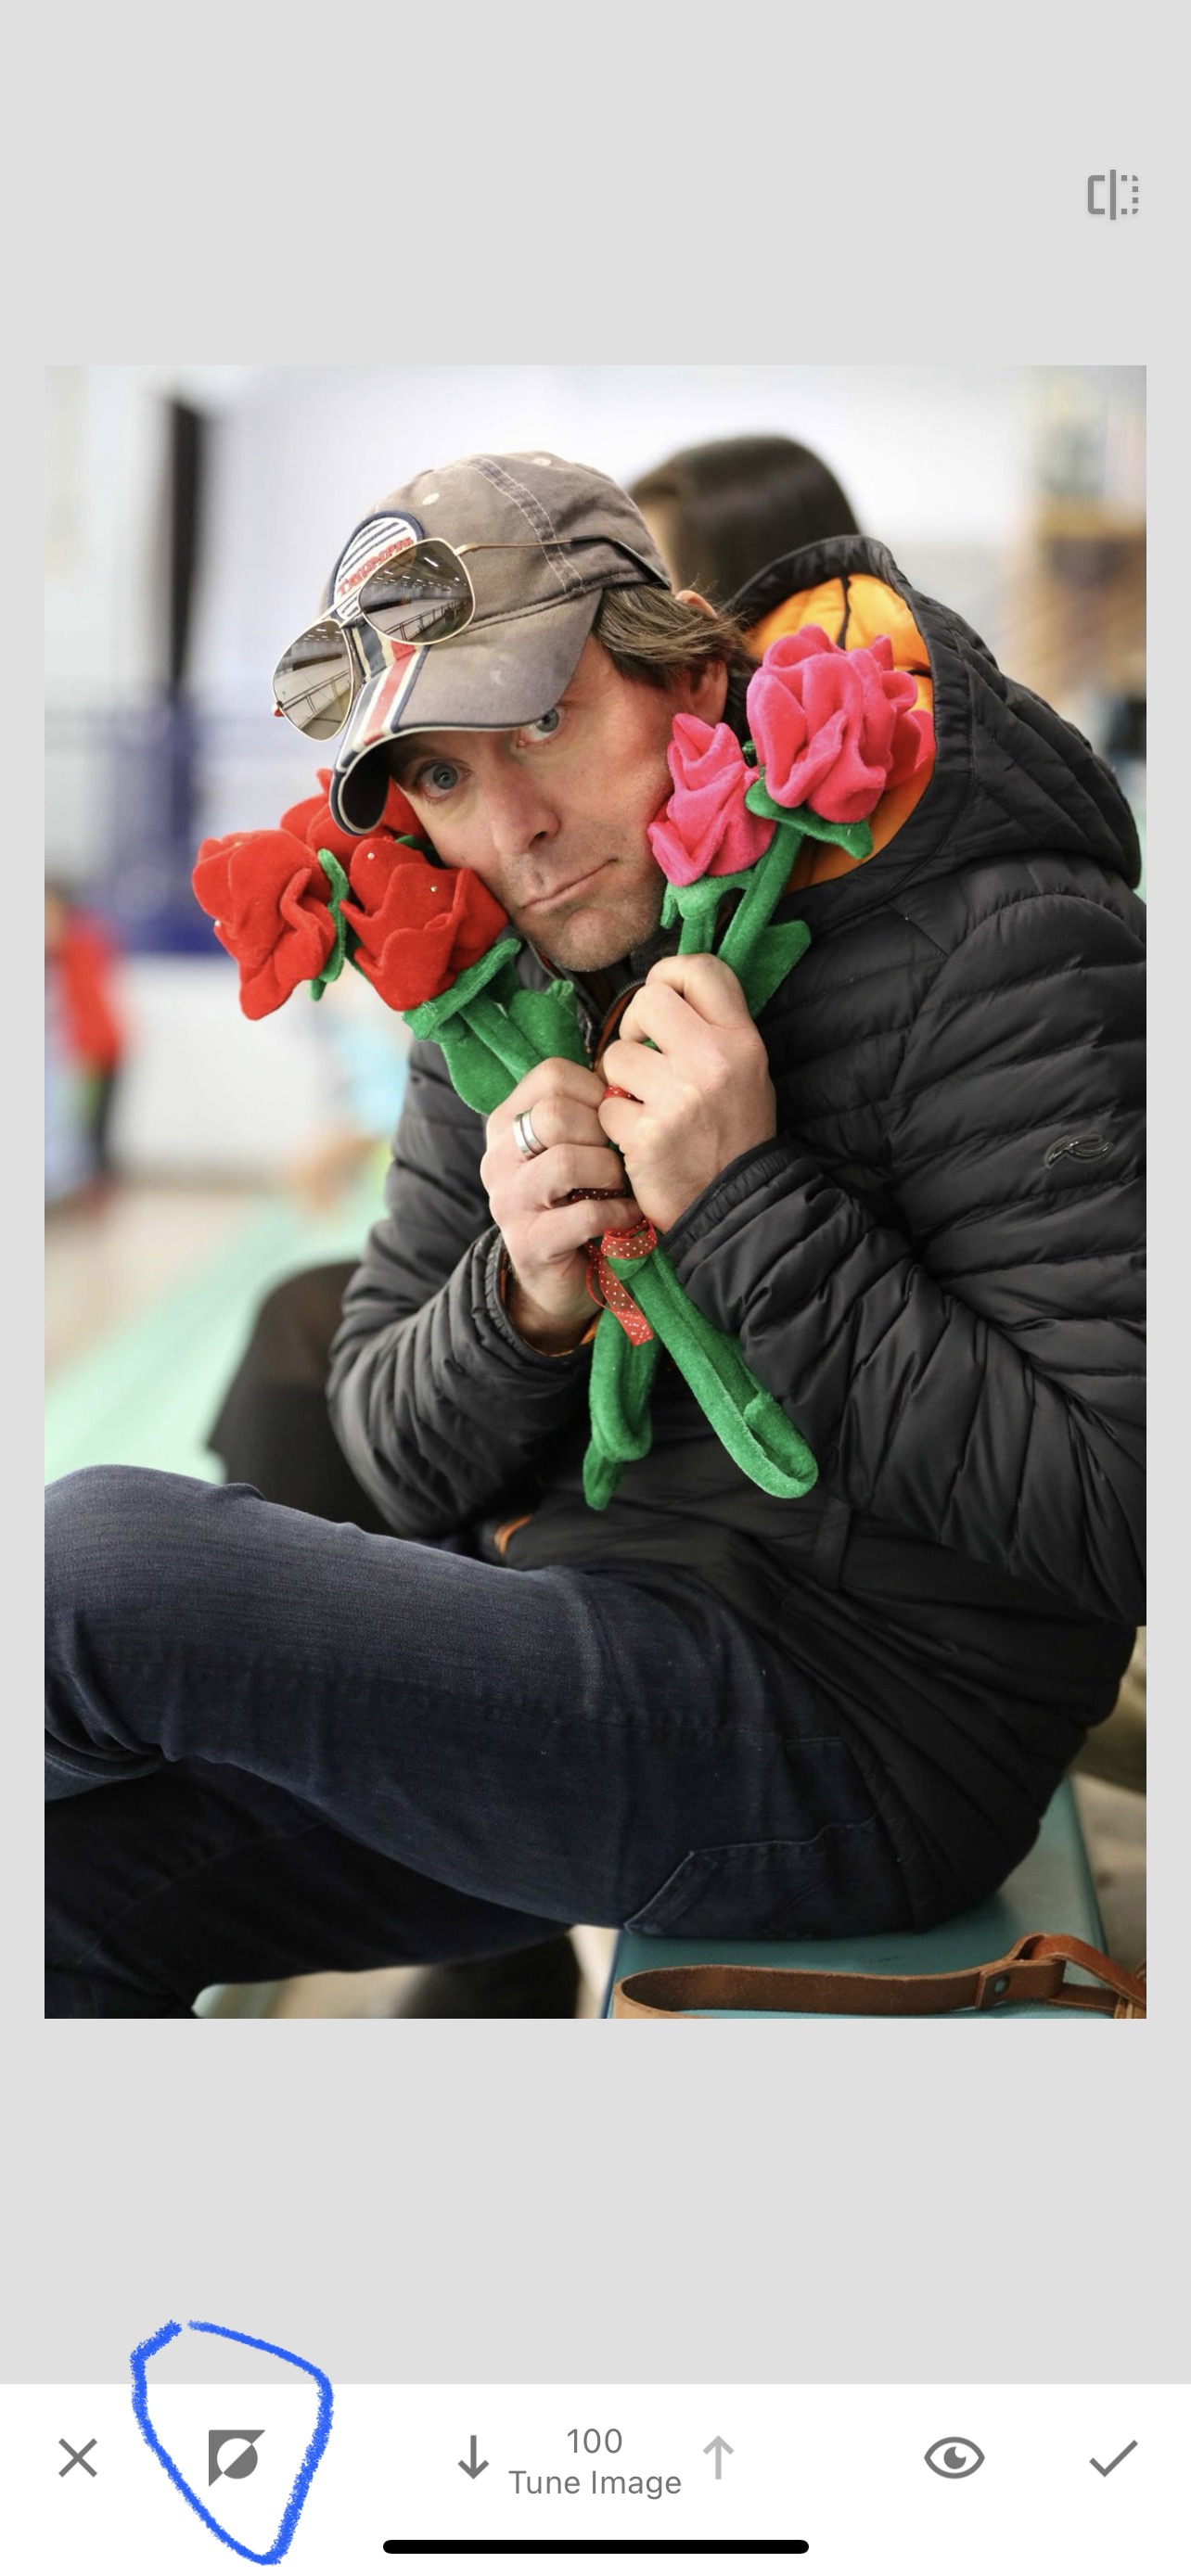
11) When your photo goes back to black and white, start to move your finger over the areas where you want the color pop to shine through. If you make a mistake, you can select the tune image arrows at the bottom to erase your mistake and paint black and white back over the area. You'll need to increase tune image to 100 to "repaint" a mistake as black and white. Then you need to put the arrows back down to 0 to have the color shine through, again. You can be more precise by enlarging the photo with your fingers and then painting the color in.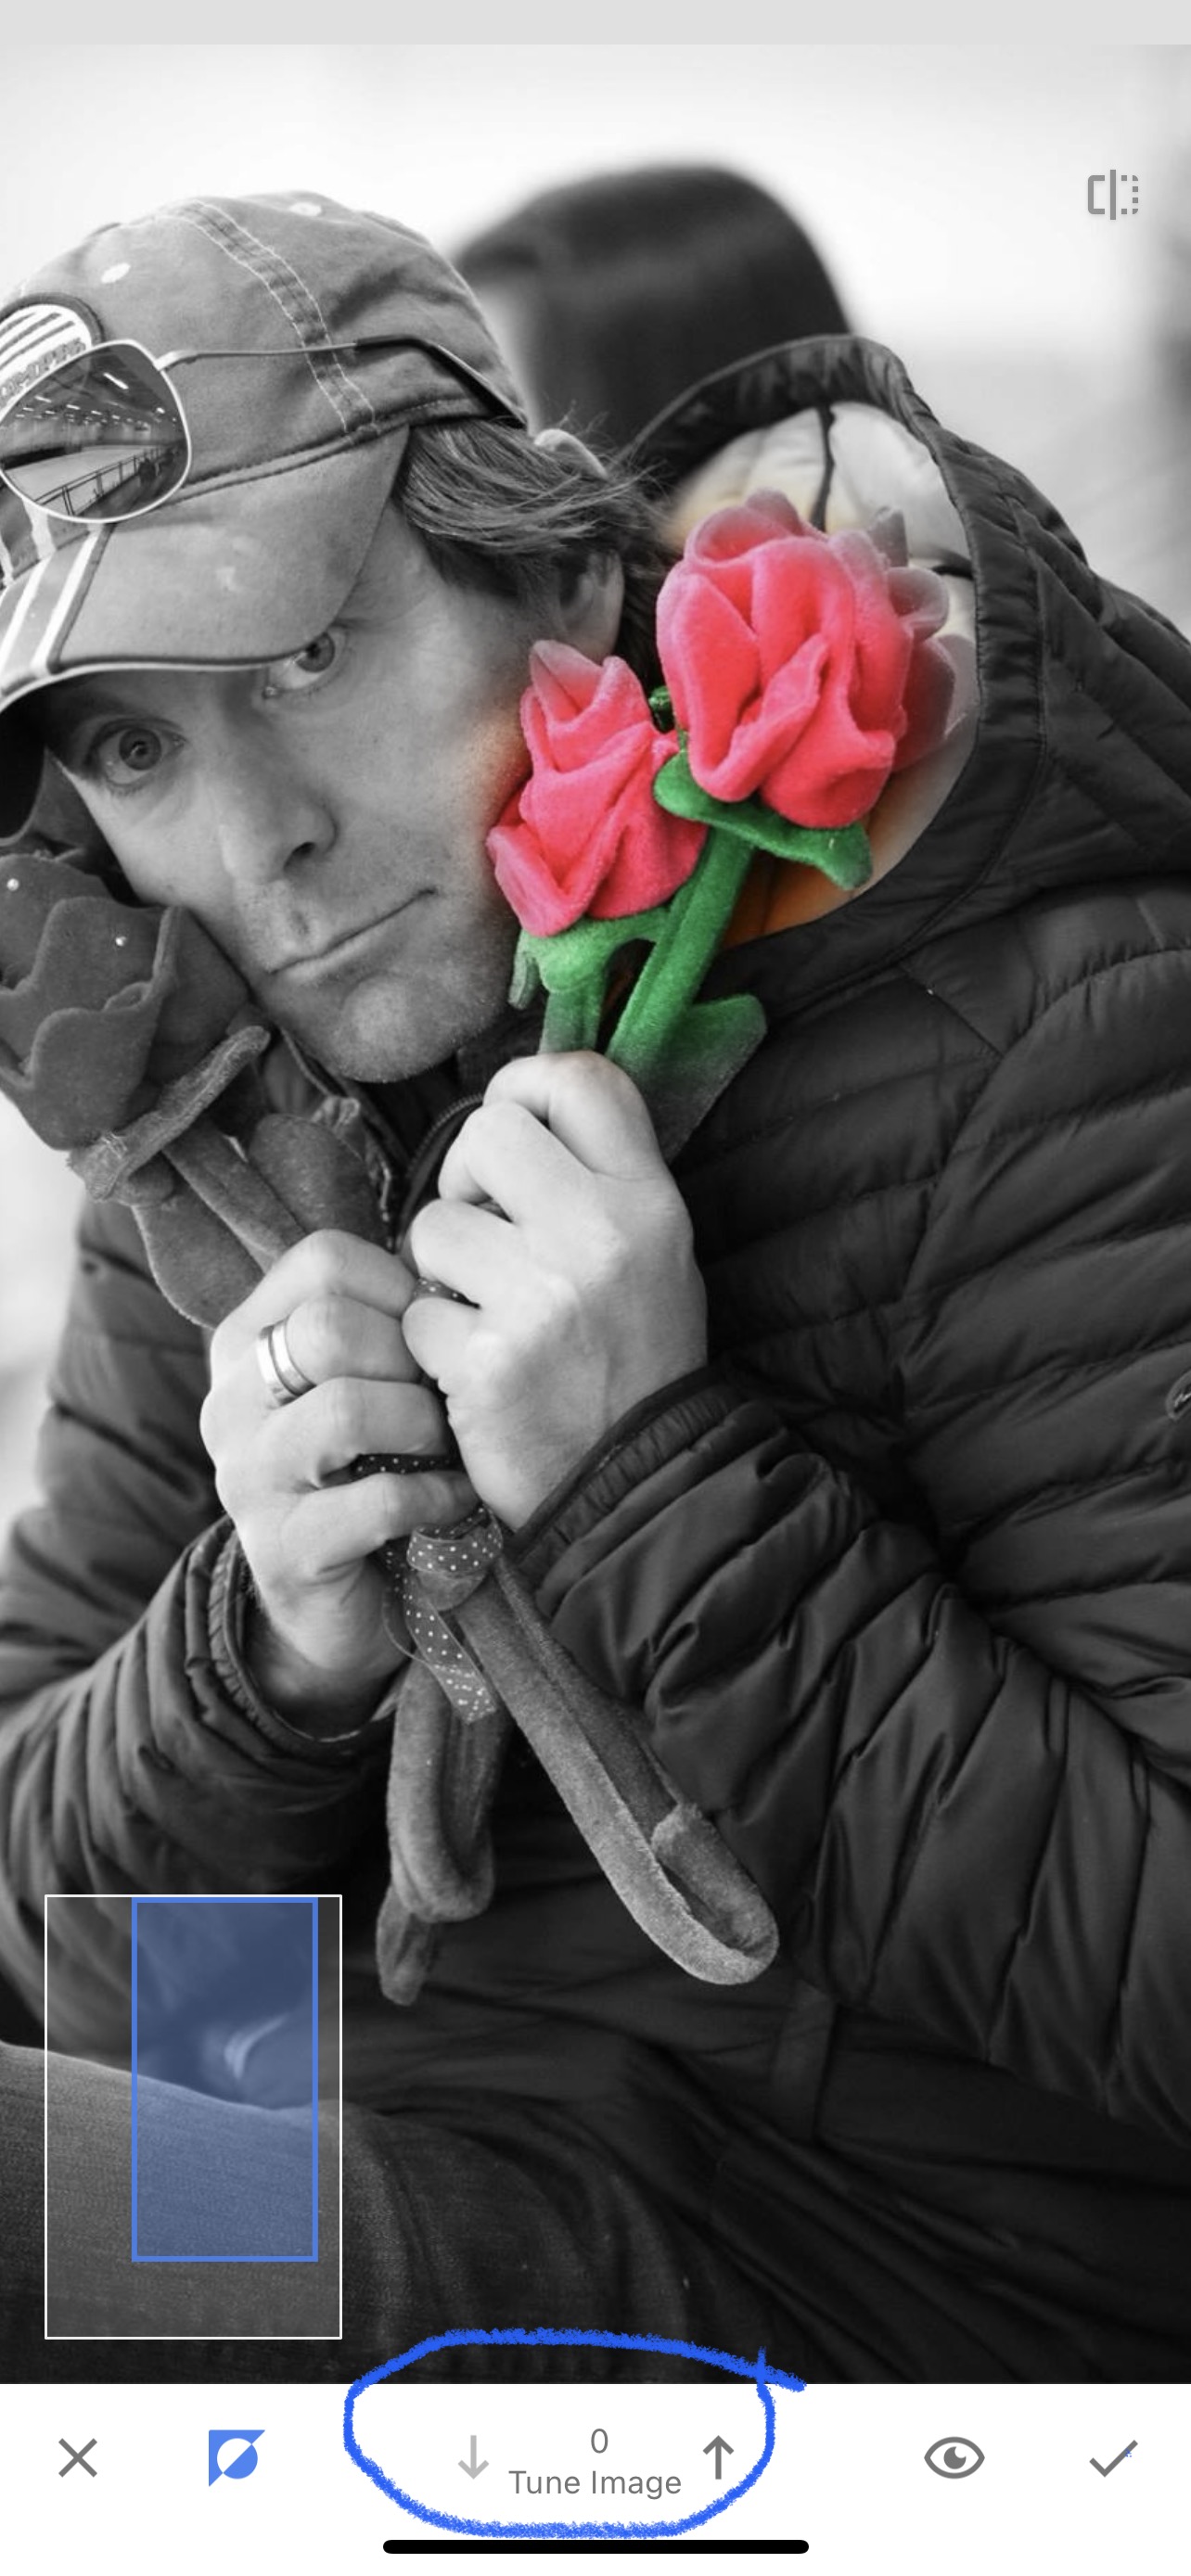
12) Select the check mark when you are done, then select EXPORT to export the image to your camera roll.